
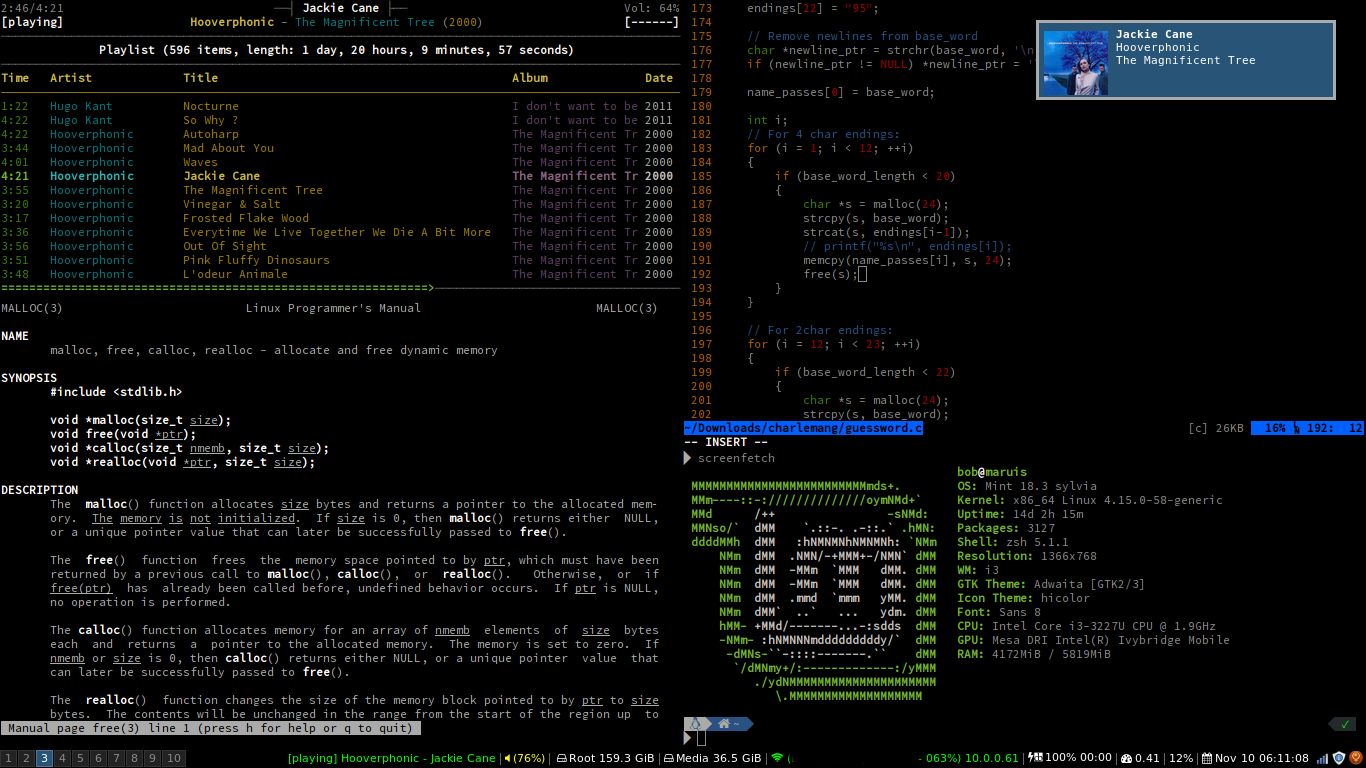
Today we'll continue setting up a Linux environment which is reminiscent of OS X, while being very very speedy, and anti-mouse - the way computing should be. We'll base this on a clean installation of Debian 10 without a GUI (which we covered in part 0x01 of this series), and proceed to setup and the i3 window manager, the Terminator terminal, the application launcher Kupfer, and set zsh to be our default shell. At the end of the tutorial series, we'll have an speedy interface that looks something like the image below, which is my daily driver. This flies on an SSD and 10 year old hardware!
In this, part two, we'll install and initially configure the basic components, which consist of the following:
- i3 Tiling Window Manager
- zsh (z shell)
- kupfer (application launcher much in keeping with OS X's spotlight)
- Terminator terminal
We begin my assuming we're up and running on fresh, GUI-less install of Debian. Get yours here: https://www.debian.org/distrib/netinst
Now, we'll proceed to login as root, update our software and install 'sudo' and add our user to the 'super users' group before beginning to install anything. As a rule of thumb, before installing anything, one should update. In the following instructions, we'll use the -y apt switch to automatically accept the packages apt suggests we should install. You could instead simply type 'y' when prompted. Also, in the instructions, replace my username 'miltiades' with yours:
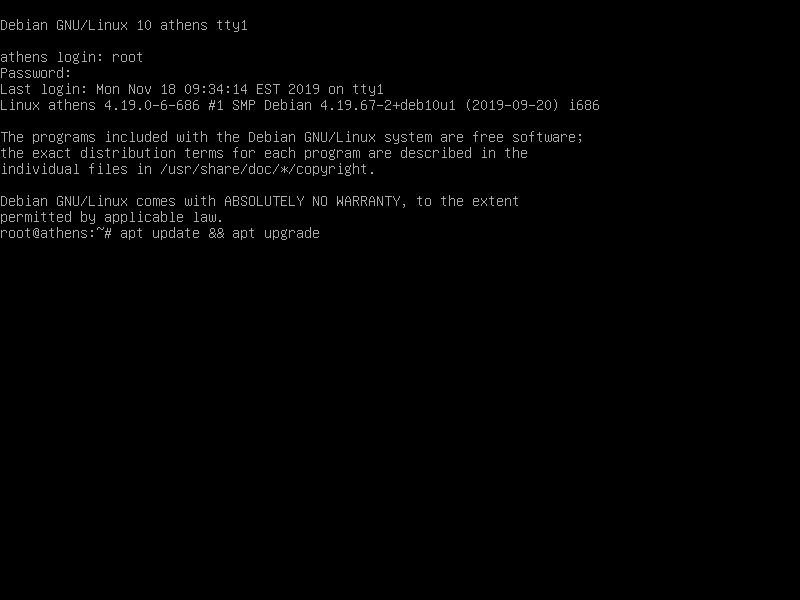
As root, run:
$ apt update && apt upgrade -yAfter updating, we'll install 'sudo' so that we can use our non-root account to do root work:
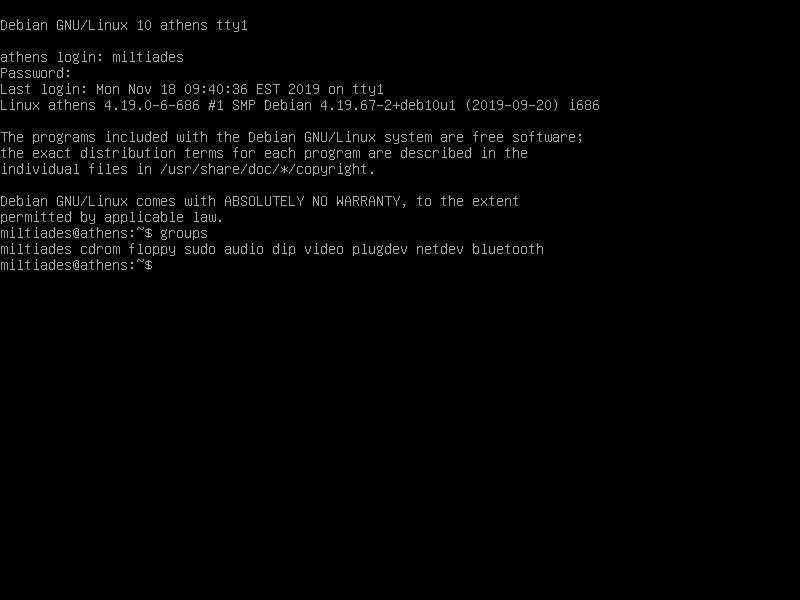
$ apt install sudoHaving installed sudo, we still need to add our user to the 'super users' group like so:
$ usermod -aG sudo miltiadesNow we can logout of root by typing exit and then login as our user. We can verify we have super user privileges by running groups and checking for 'sudo' like so:
Looks good, now we can start setting up cool stuff!
First, we'll install an upgrade to the classic text-editor Vi, called ViM (for Vi Improved) so that we can edit files in style. A the same time we'll install i3 and an x server so that we can get up and running with GUIs. We all wanna browse the web right?
$ sudo apt install vim i3 xinit -yNow we need to modify ~/.xinitrc with what we want x to load. Add the following line to ~/.xinitrc:
$ exec i3We can do this by creating a new file with ViM called .xinitrc like so:
$ vim .xinitrcThere's something of a learning curve to ViM, but once you get the feel you won't turn back. Press 'i' for insert mode, and type 'exec i3' on the first line. Press escape to leave insert mode, and the type ':x' and press enter to save the file and close ViM. : indicates a command is to follow, x is short for 'save and close'.:

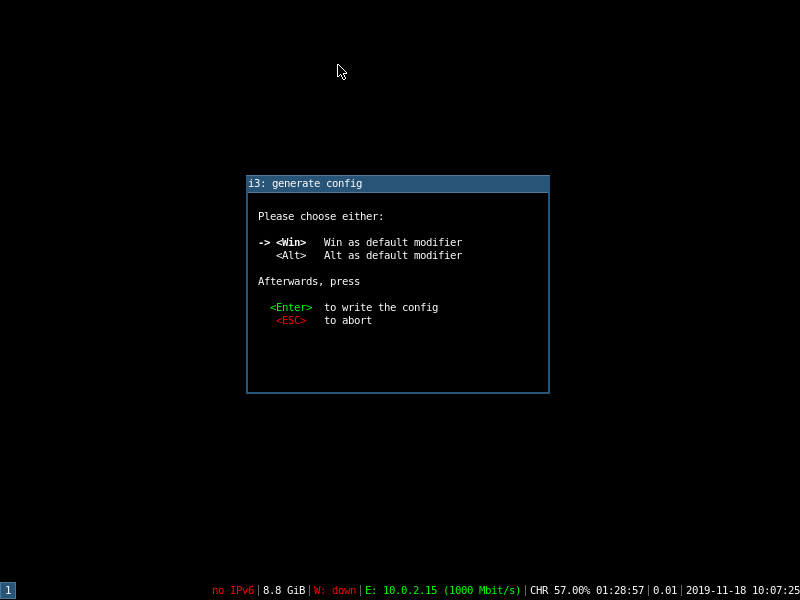
Now we can run startx which will start i3:
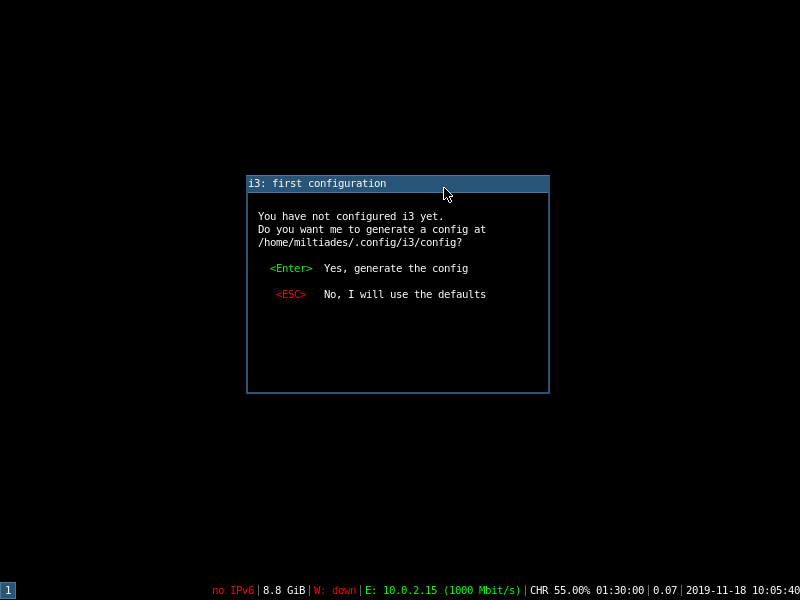
Press enter to auto generate a configuration file. On first run, it will also ask you to choose the <mod> key, which is the super key which will be used to navigate i3 and issue i3 commands. I chose alt, but it quite a few ways I wished I'd originally chosen the windows key, which has next to no useful functions by default, unlike alt. Pick your poison:
Now that we've got i3 installed, we can play around with it and get a sense of its speed. The following are some basic i3 commands:
- <mod> + <number>: Change workspace to <number>
- <mod> + shift + <number>: Move active window to workspace <number>
- <mod> + shift + e: Exit i3 shortcut
- <mod> + shift + r: Restart i3 inplace
- <mod> + enter: Open a terminal
An i3 command cheat sheet is available here.
Next we'll install kupfer, our app launcher and configure i3 to load it on startup.
Kupfer's got a lot of dependencies, and will make our footprint significantly larger, but I've become attached to the functionality and feel. i3 also comes packaged with a launcher which can be accessed by default with <mod> + d. With this in mind, skip installing Kupfer if you'd like!
We'll open a terminal with <mod> + enter, and install kupfer as follows:
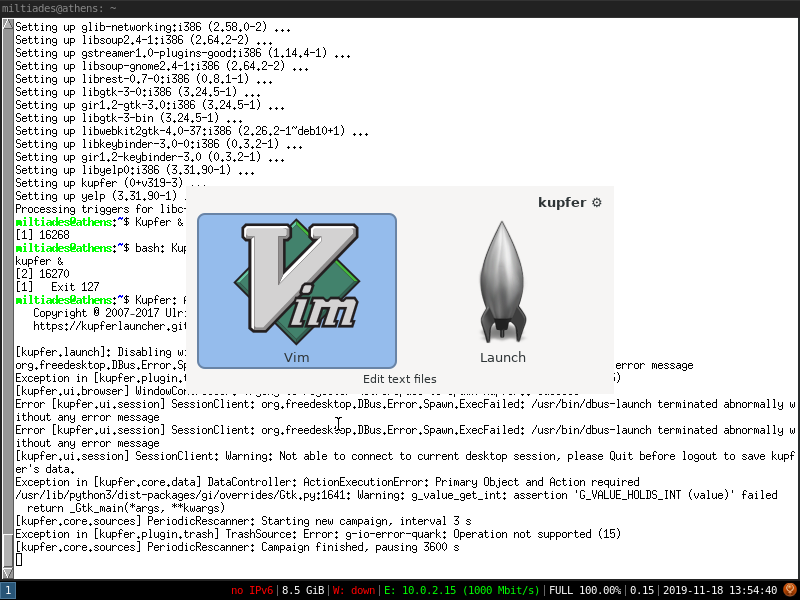
$ sudo apt install kupfer -yBy default, Kupfer is set it up such that <ctrl> + <space> opens the launcher - this makes working on both OS X and your Linux machine quite compatible! After installation, to quickly test it, you may type kupfer in your terminal, and then try typing an application name - try ViM:
Now we'll edit i3's config so that Kupfer starts on startup. Edit ~/.config/i3/config (we'll be working with this file a lot) and add the following line at the bottom:
$ exec --no-startup-id kupfer --no-splash
As we did before, you may open the file with vi by executing:
$ vi ~/.config/i3/configYou can then get to the bottom of the file by pressing <shift> + g and the pressing 'i' to enter insert mode:

--no-startup-id stops i3 from trying to display a 'working' cursor icon while the process is launching, which I think of as really not useful. The feature is not always implemented in apps anyway, and in the case of GUI apps, it stops the app from being associated with the active i3 space. --no-splash does what it sounds like.
Now we'll install Terminator as our terminal, and ensure it's set as default:
$ sudo apt install terminator$ update-alternatives --config x-terminal-emulator
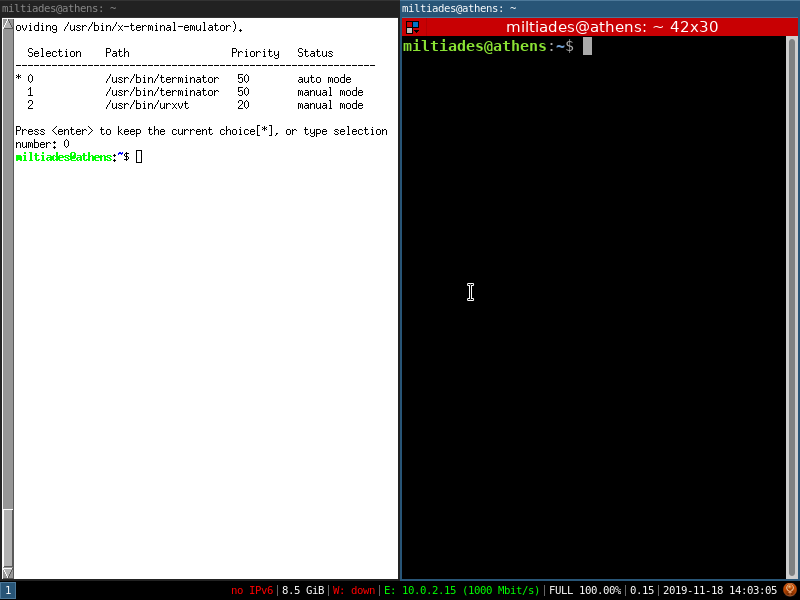
update-alternatives will prompt with a list of terminals available. Select Terminator's number, if not set already, and hit enter. All done!
We can test that this worked by invoking i3's launch terminal command which by default is <mod> + <enter>. Terminator should open! As you can see in the following picture, when we open a new window with another already present in the workspace, i3 'tiles' them which maximizes their sizes given the available screen space!
Last, we'll install zsh, and make it Terminator's default shell. I've become attached to zsh for a couple of reasons. It's highly customizable, and there's a pretty active community of people designing sweet extensions, like the ones we'll setup in part three of this guide. Out of the box, it also comes with a couple of extremely useful features like much improved auto-complete.
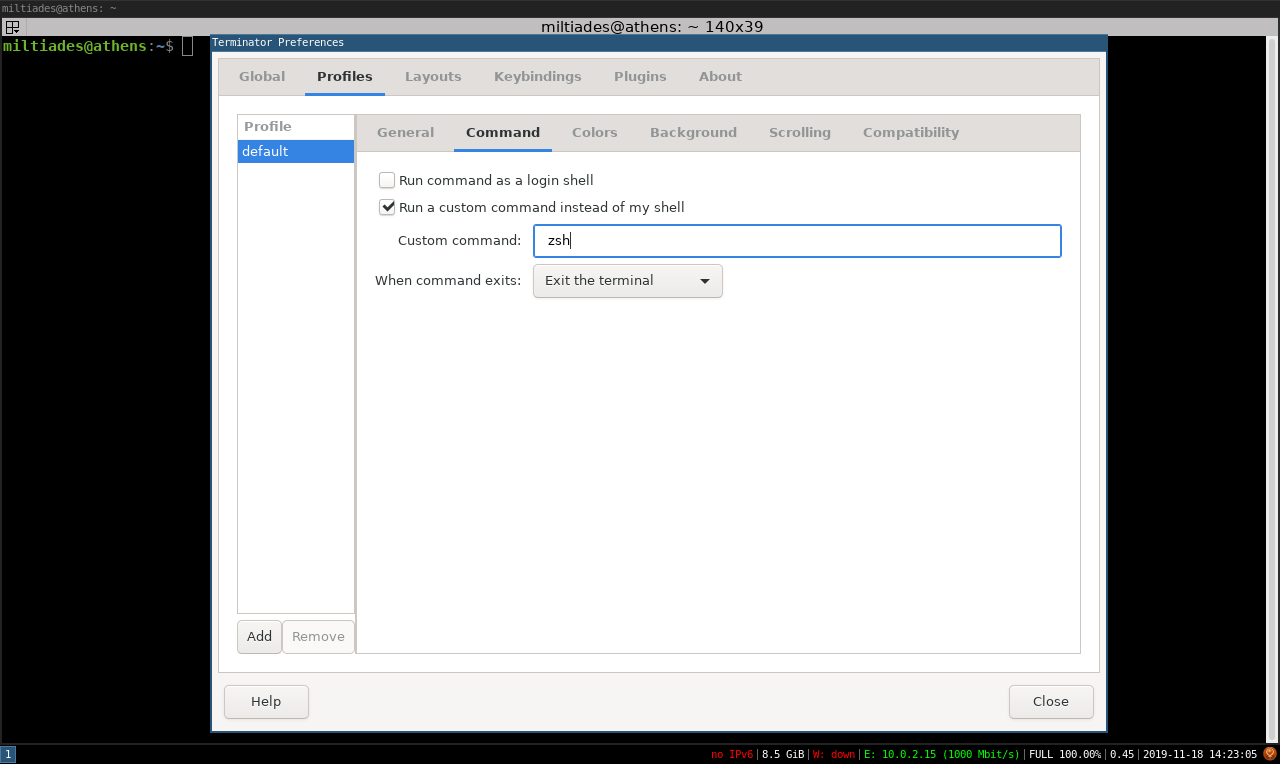
$ sudo apt install zshIt's easiest to let terminator setup your config file for you, by right clicking in a terminator window, clicking preferences, and modifying the default profile. Once you set some custom settings in a profile, a typical ~/.config/terminator/config file will be created. Right click somewhere in an open Terminator window, choose Preferences > Profiles > Command. Check 'run custom command' and enter zsh.
In order to unlock the preferences window, and allow it to float freely in i3, we can use <mod> + shift + space while it's active!
Click close and type 'exit' to close Terminator. Load'r up again using either Kupfer or i3's shortcut, and you get zsh's initial setup screen:
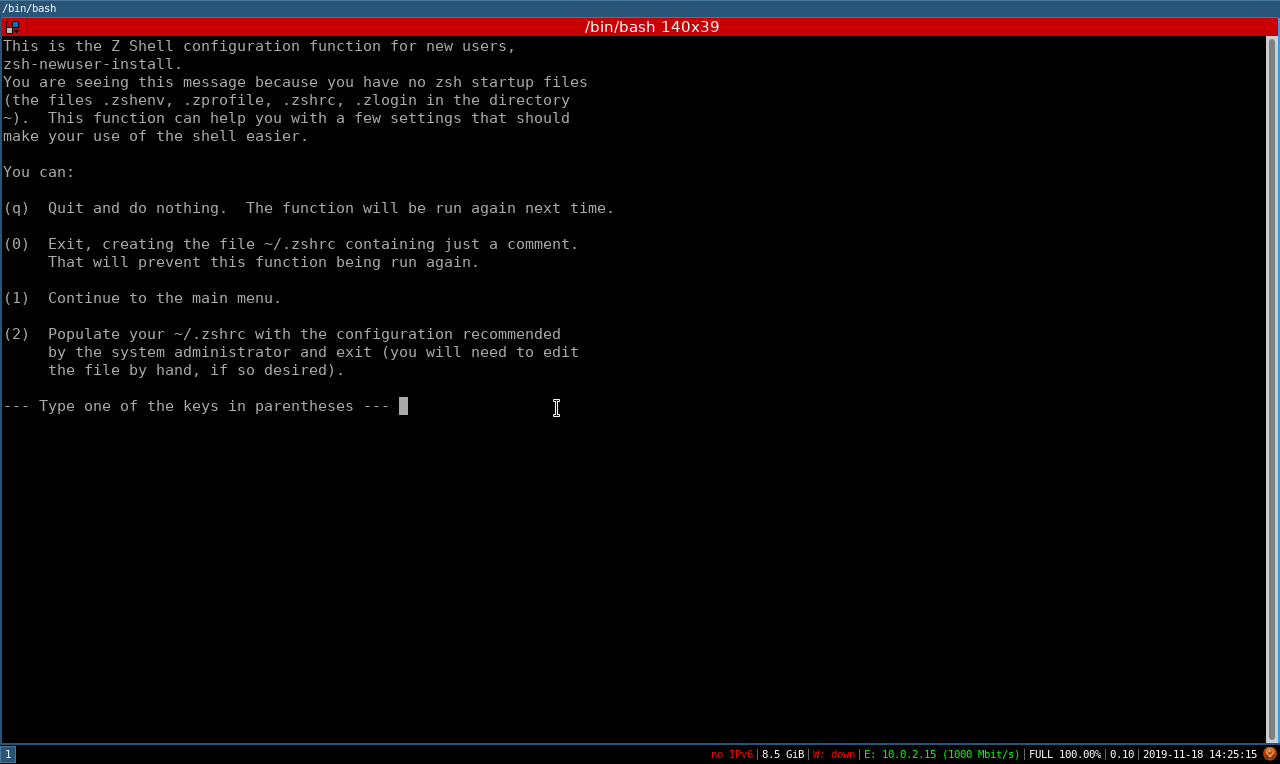
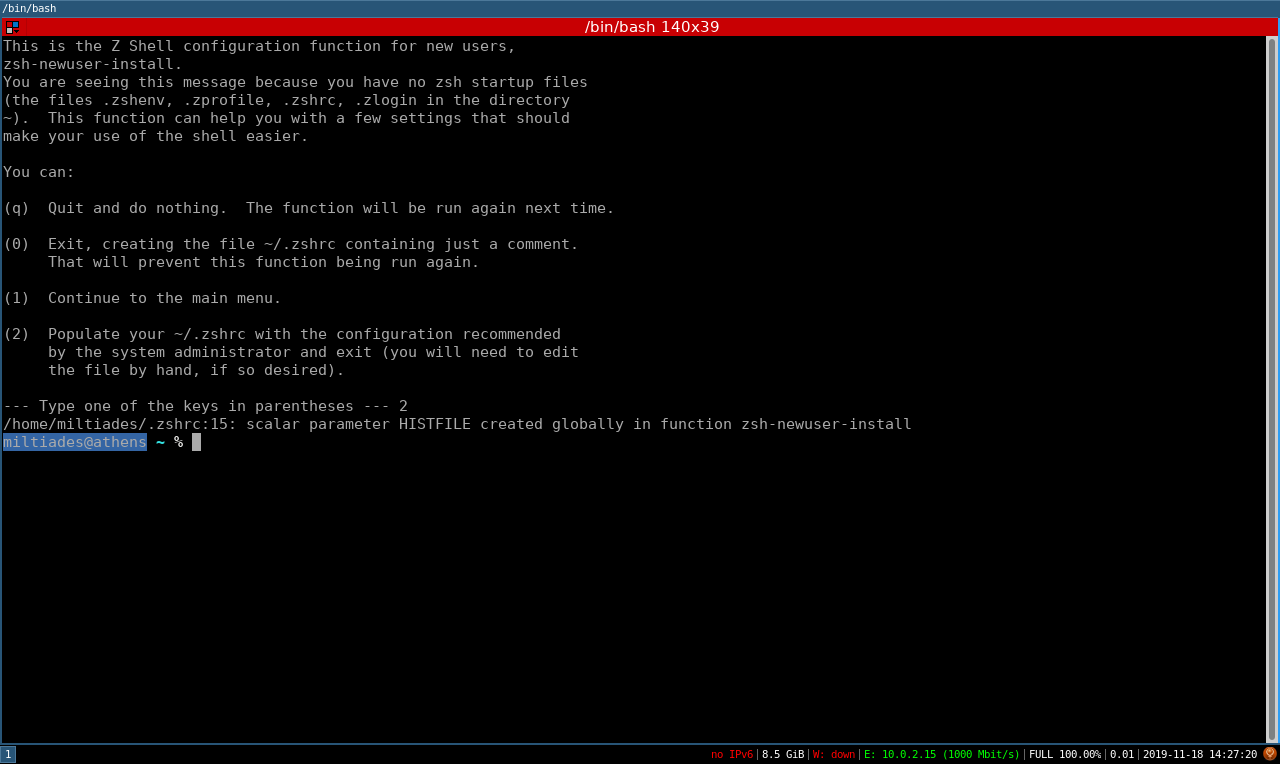
Choose '2' for the default settings and you're presented with zsh's less than beautiful - but highly functional! - default prompt:
In lieu of using the gui, the following Terminator config, written to ~/.config/terminator/config will have the same effect as setting zsh to run on Terminator launch as described above:
[global_config]
[keybindings]
[profiles]
[[default]]
  cursor_color = "#aaaaaa"
  use_custom_command = True
  custom_command = zsh
[layouts]
[[default]]
[[[child1]]]
  parent = window0
  type = Terminal
[[[window0]]]
  parent = ""
  type = Window
[plugins]
Congrats! We've now got a functioning Debian Linux environment with a very speedy graphical interface! In part three, we'll finally get to really customize our shell to make it sleek and attractive.