Welcome to part 0x01 of our multi-part tutorial on setting up a speedy, usable Linux environment! A little background first. Linux is a free and open source operating system originally designed by Linus Torvalds. Today, it comes in many 'flavors'. Debian is the flavor that underpins the popular Ubuntu and Mint distributions, and is associated with perhaps the best known package (or software) repository which can be interacted with using the aptitude package manager, or apt. Other flavors include RedHat, Arch and SUSE.
On top of Linux, which itself is a 'kernel' - the core of what's often termed an 'operating system' and which is intended to mediate interaction between a user and hardware - are a number of different Desktop Environments (DEs). Popular DEs include Gnome, Cinnamon and Xfce. These are what provide desktop icons, wallpapers, taskbars, clipboard functionality, mouse interactions like drag-and-drop functionality, window decoration and tiling, and so on. They are essentially suites of software which include a window manager (WM).
In addition to Desktop Environments, there are also Display Managers, which are typically what you're first presented with when you boot your machine, and which provide a graphical login screen. On successful login, they proceed to launch whatever DE or WM is installed and selected.
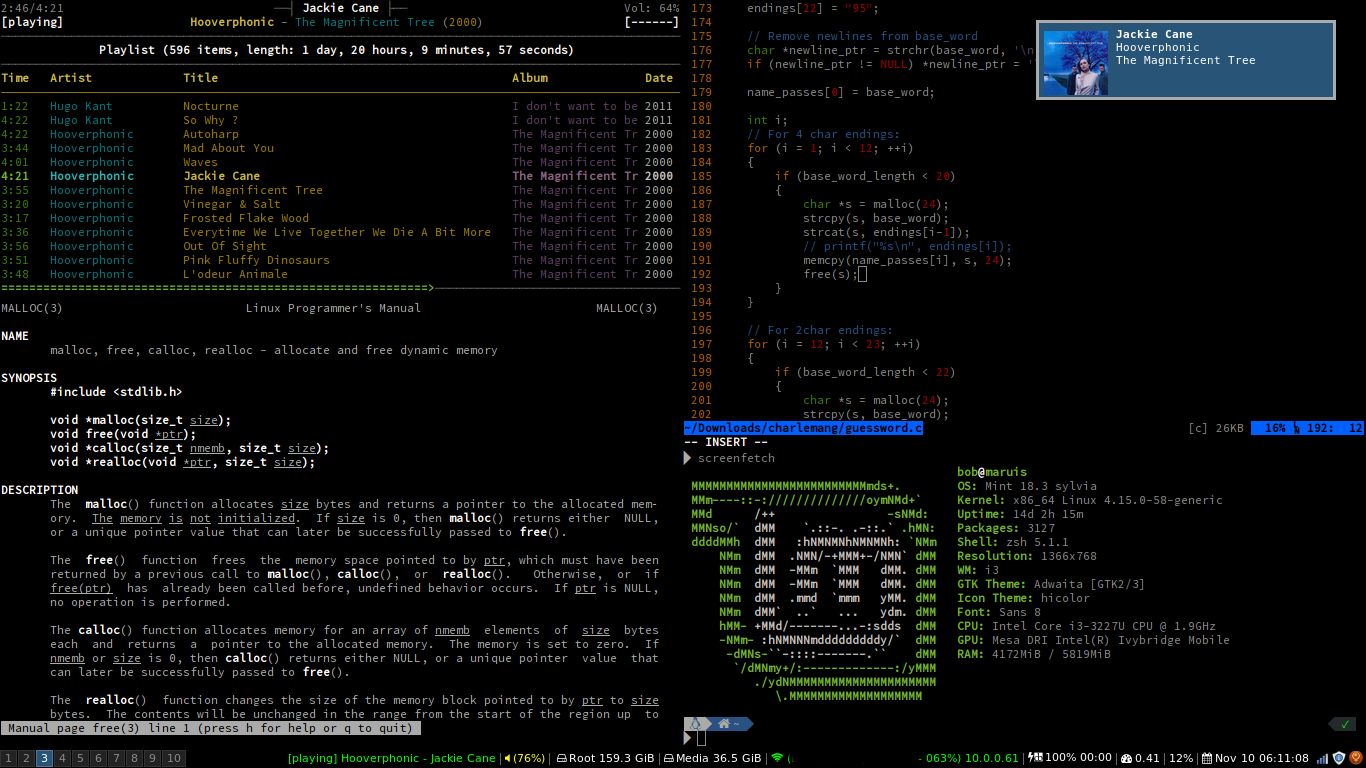
This is, to a degree, all as complicated as it sounds. However if we strip a bunch of the components out, we can both simplify the experience, as well as significantly improve performance - especially on older hardware. And that, simplification and speed, with a healthy does of learning by doing, is the goal of this series of tutorials! We're going to use just a WM, and then install select software to make our custom desktop environment just how we want it. We're going for something that, in the end, will look like this (don't mind that if you look closely you'll see Mint ;)):
Having covered some theory, and with an idea of our end goal, let's get straight into installing Debian on our machine! We're going to assume you have a machine, and Debian on some kind of installation media. Having booted our machine from the installation media, we see:
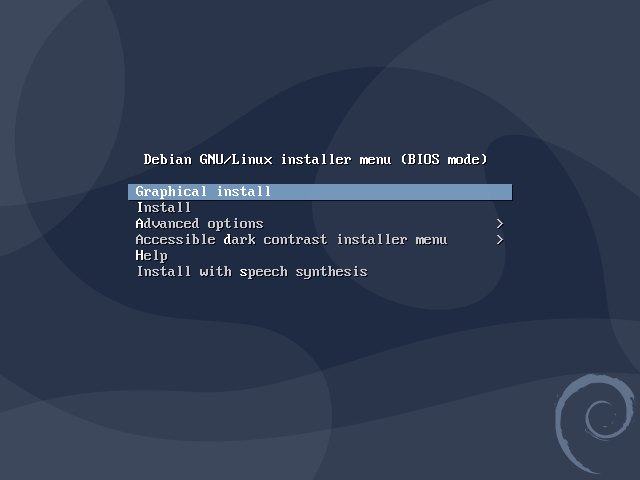
Select "Graphical Install":

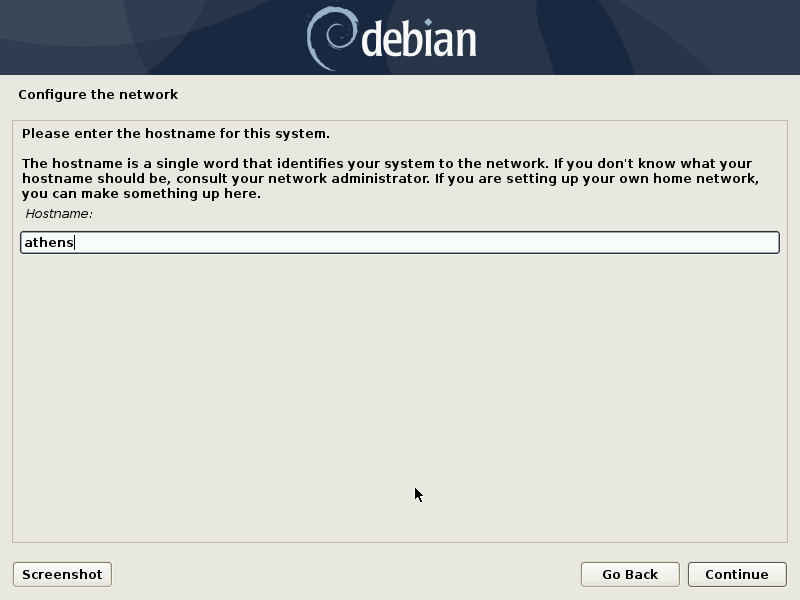
From here, step through selecting you language, your location, and your keyboard configuration. When you've done this, and the installer is done loading additional components and auto detecting your network, you'll be prompted to declare a hostname:
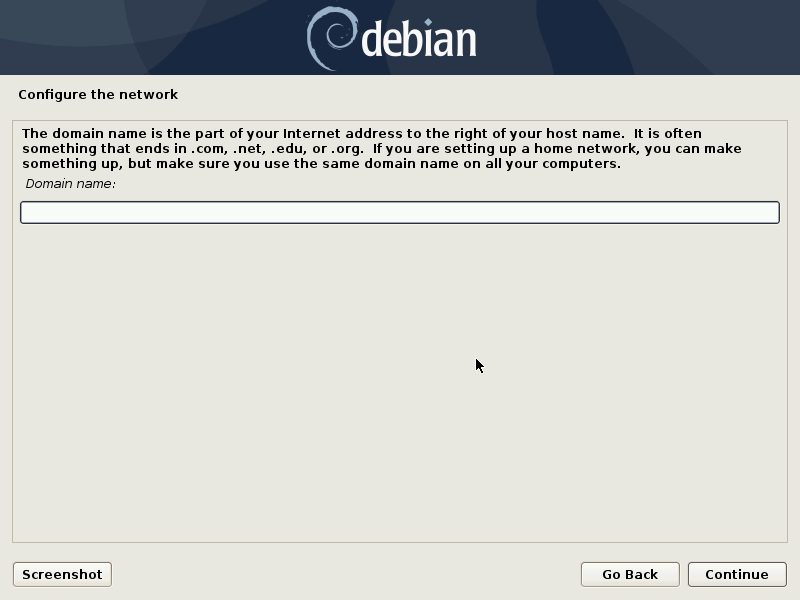
On the next screen, leave your domain blank:
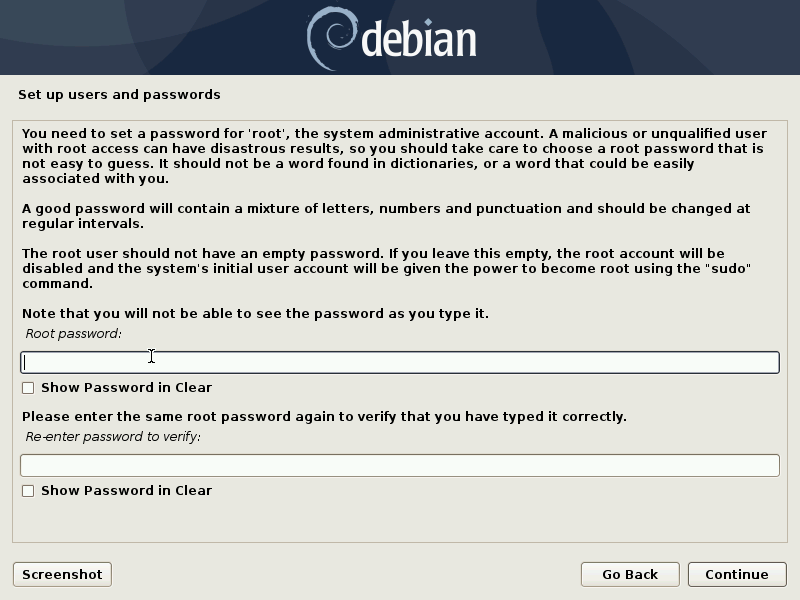
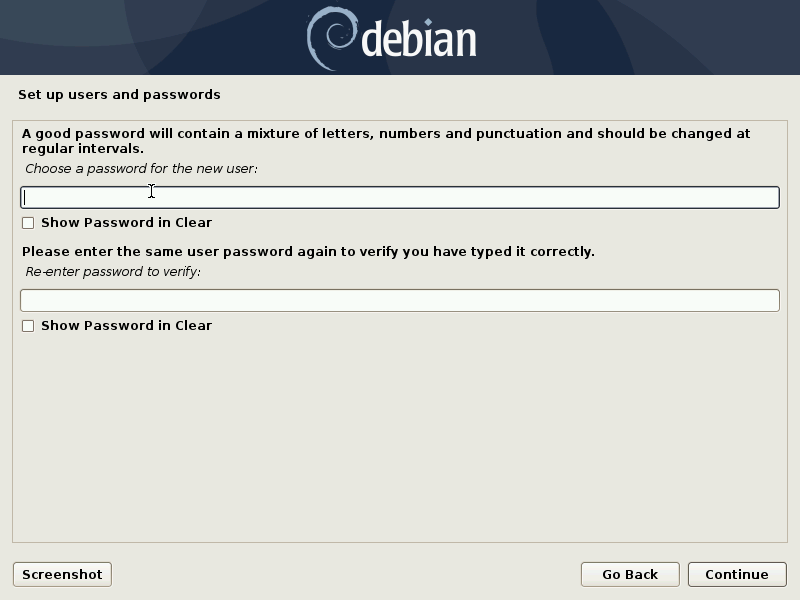
Next, choose a root password. Per the installer's warnings, choose a good one! Remember, length trumps fancy characters: a fairly good scheme that balances quality with memorability is to use a fairly long phrase, with a smattering of numbers, uppercase letters and a couple of special characters (!, @, #, etc) for good measure.
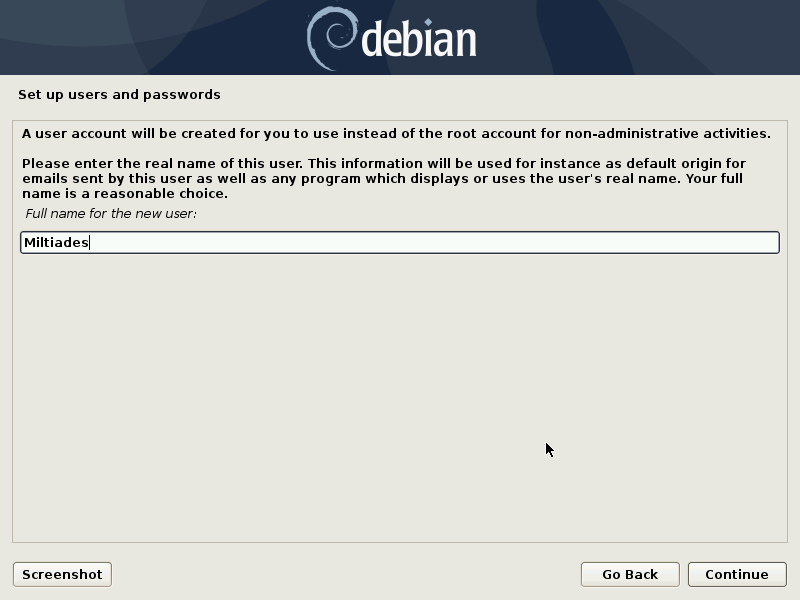
Next, choose a full name for your user - this is mostly for bookkeeping and doesn't matter much. I usually use the same thing I'm going to make the main user be:
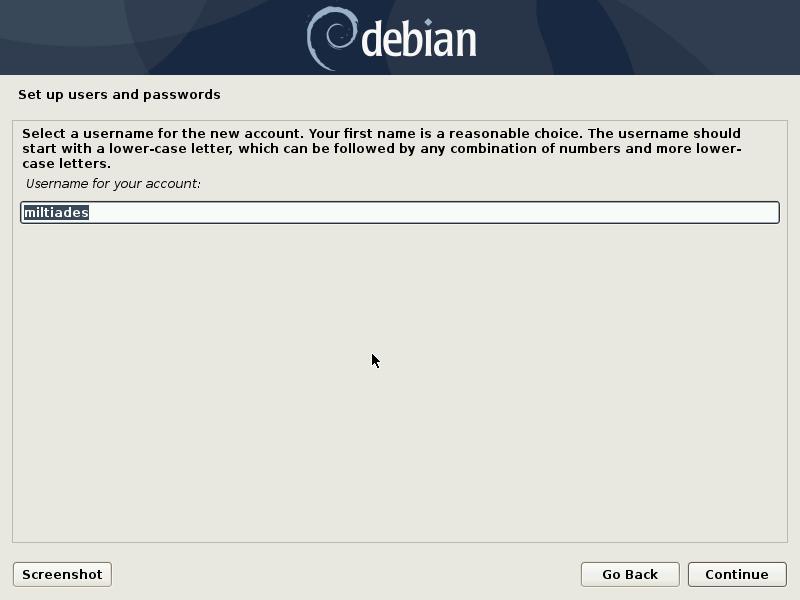
Now choose the actual user name, and choose a password:
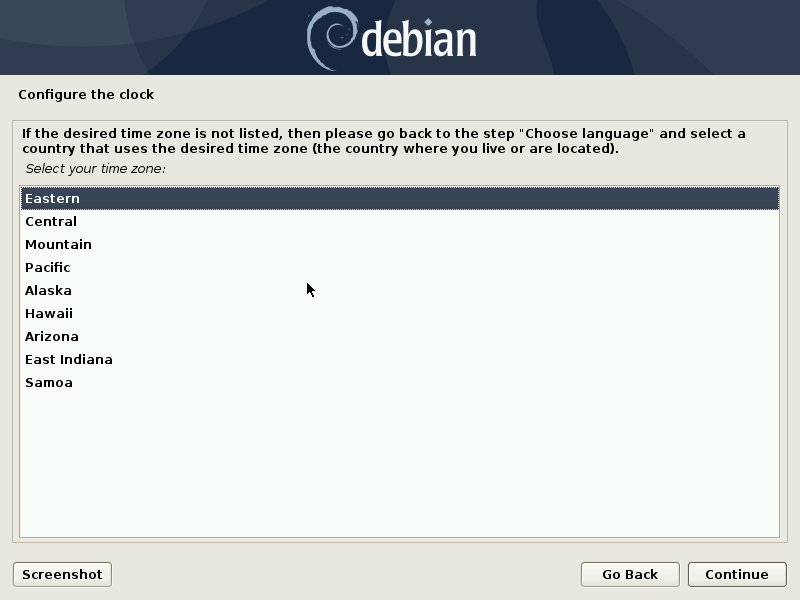
Now select a timezone:
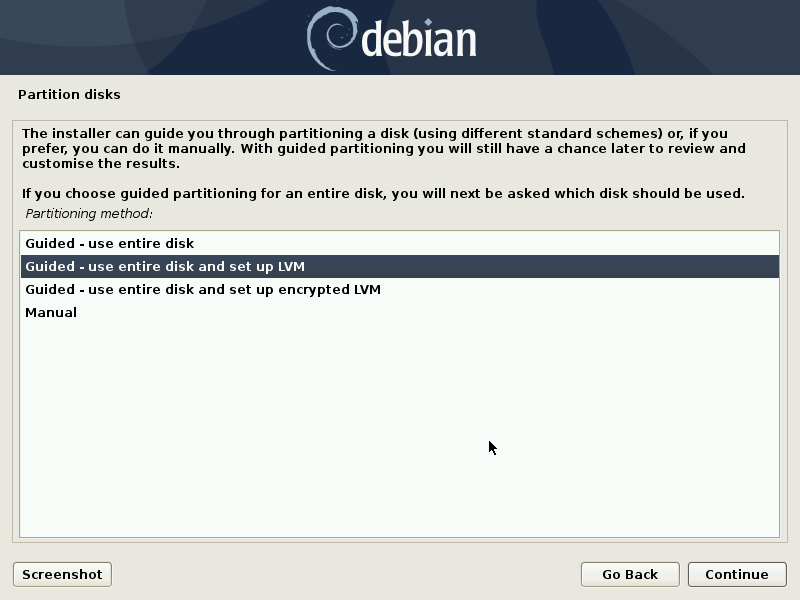
After disk setup, we're now going to setup the storage device we're installing Debian to with partitions. For the purposes of this tutorial, I'm going to choose 'Guided - use entire disk and set up LVM'. Choosing the encrypted version does what it suggests; in nearly all cases, the added security gained from encryption comes at a performance cost. Security can be complicated, but this is not. Disk encryption protects you from physical attacks (like having your laptop stolen) - if you're not worried about this contingency, disk encryption likely adds unnecessary layers of complexity and performance degradation.
LVM (Logical Volume Management) is an enhancement to traditional volume management schemes which improves your ability to, among many other things, move and resize partitions post-creation. I think there's little reason not to use it.
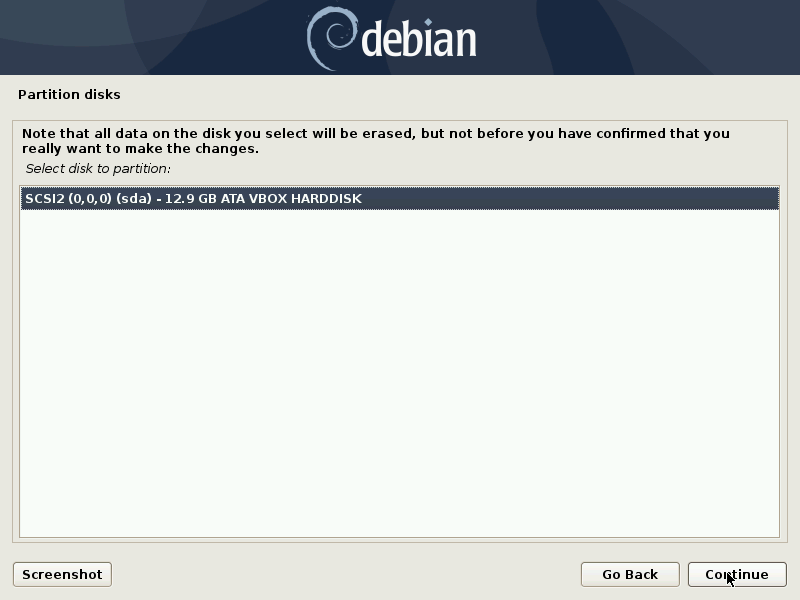
Now select your disk. Because these images come from a Virtualbox virtual machine, my disk reflects that. It's SCSI for instance. If you're running standard consumer hardware, you're more likely to see something like a SATA Western Digital or Hitachi or Seagate, etc drive:
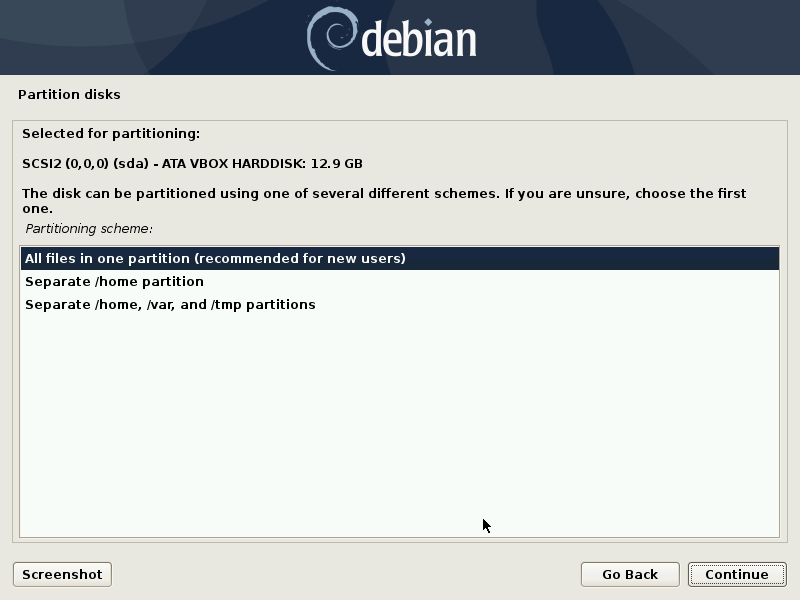
Next, we'll select how the partition scheme works. We'll choose 'All files in one partition (recommended for new users)' because the compartmentalization you might gain from separating various directories is low for our use case (a speedy daily driver).
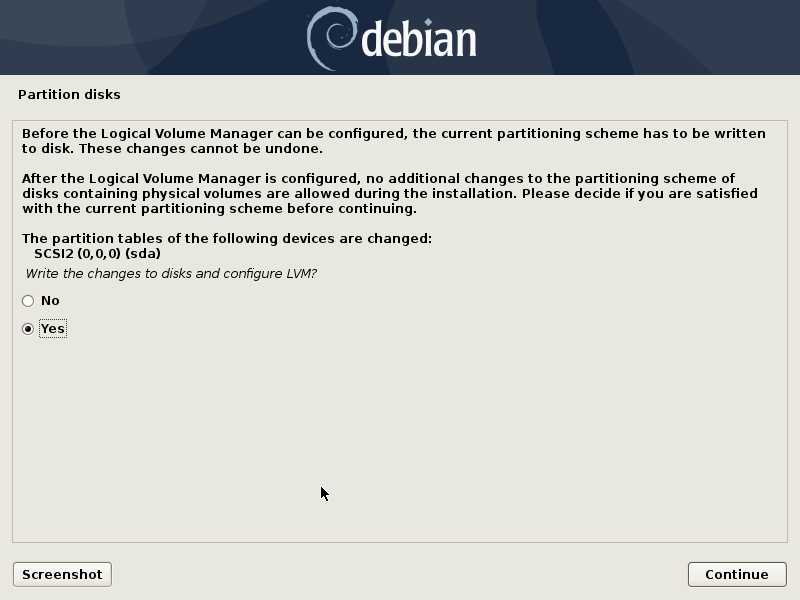
Confirm you're choices, and click continue:
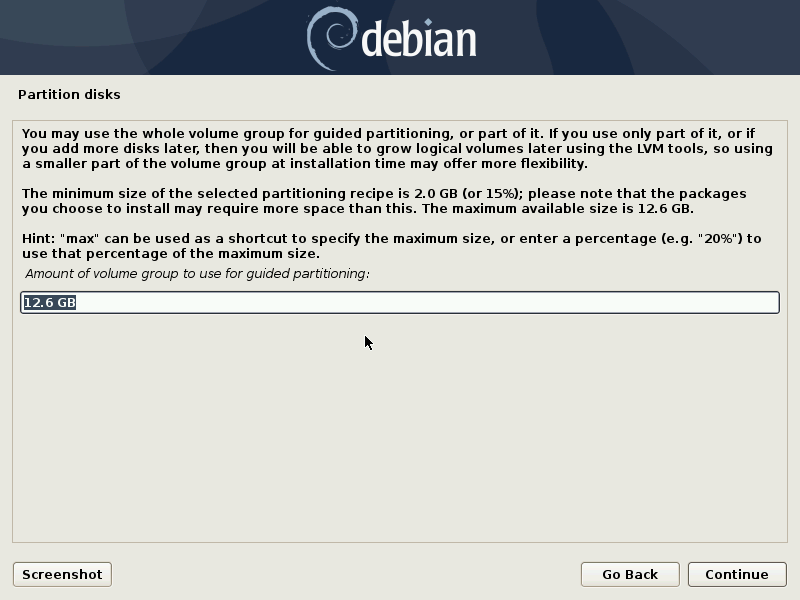
Again, given our purposes we're going to use the whole disk (per the hint, you can use various values like 'max' if you're not sure what to put). By default, given our choices the full size is given:
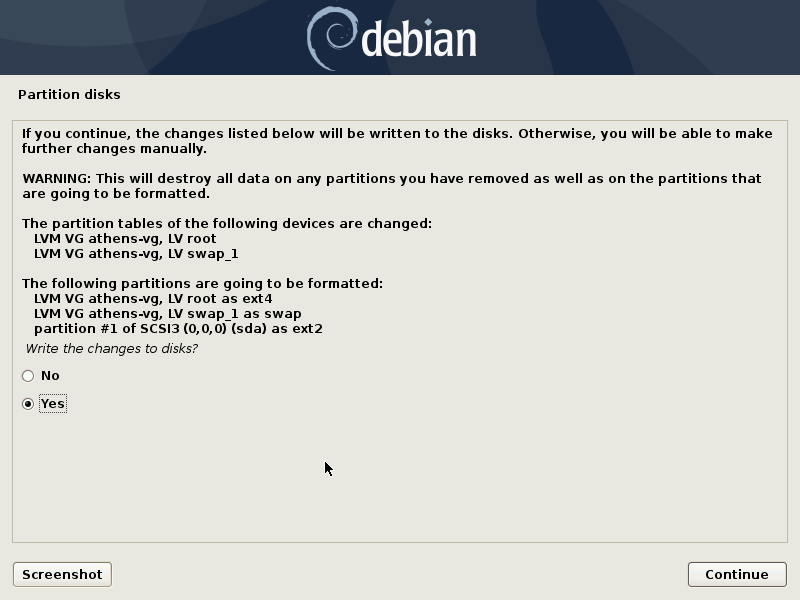
We're ready to overwrite whatever may be on the drive, and get going! It's worth noting here that there are basically two things going on: we're formatting a section of the drive to be our single partition we chose earlier, and part of the drive to be a 'swap' space. Swap space is used to store pages (a fairly standardized unit) of memory when your RAM (random access memory) is full.
With that, we're off, and installing!
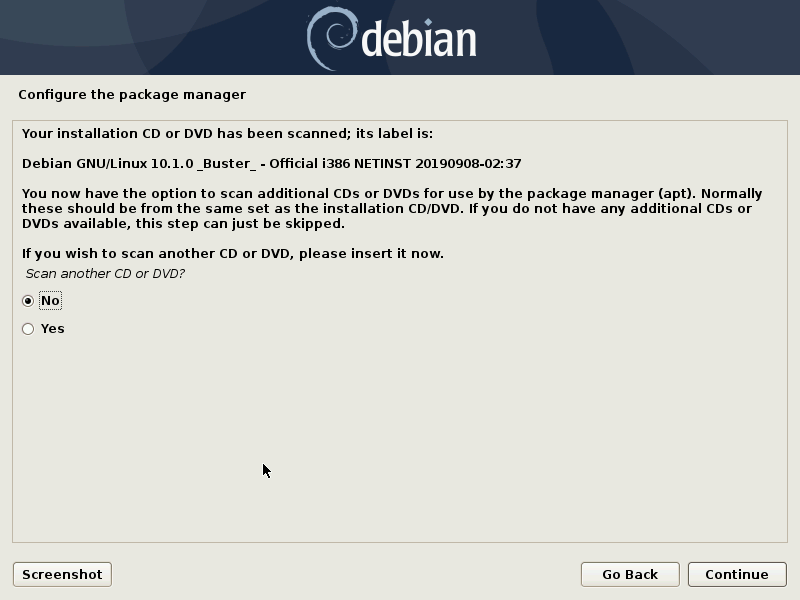
After successful installation of the core components, we're presented with the following screen. Choose 'No' and continue:
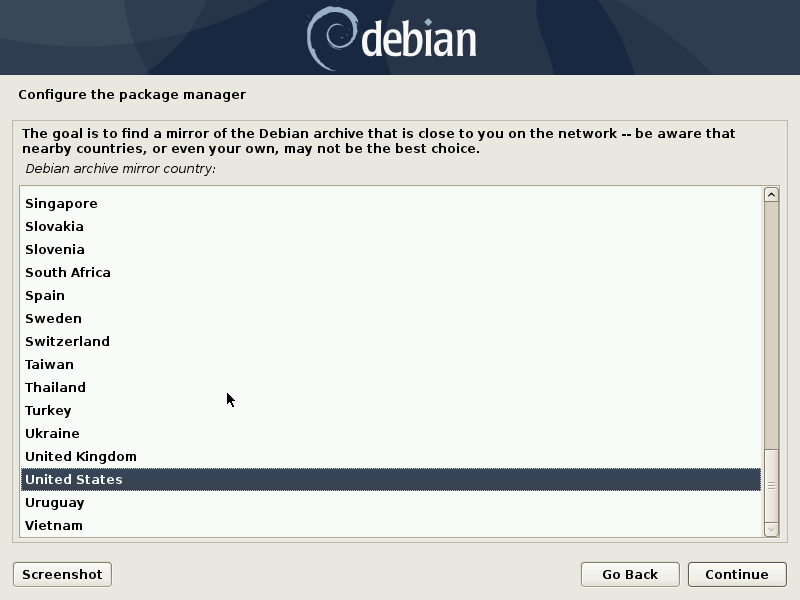
Now select a country (mirror location) to use as the source of the Debian package archive. This is where you'll get your Debian managed software and updates. Quick note, 'mirror' is Web jargon for a replication of data, generally distinguished by location and which usually functionally refers to a server.
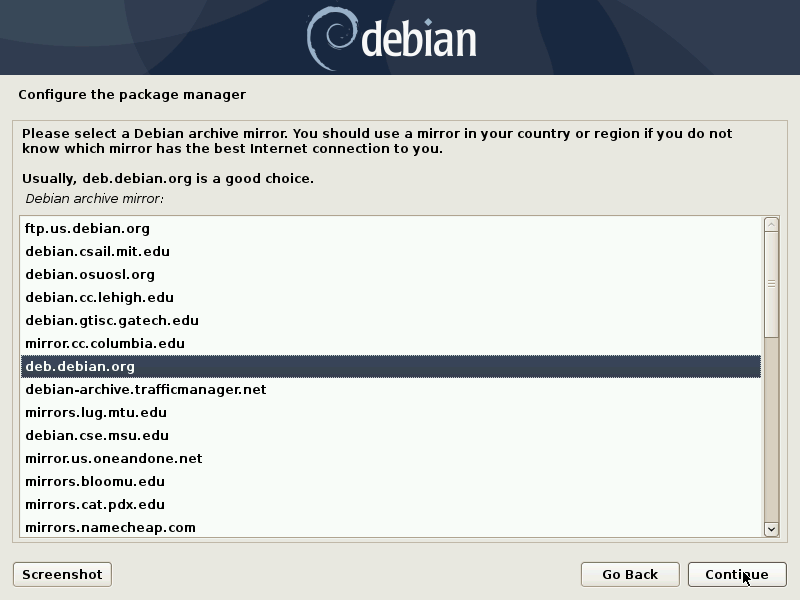
The next screen offers you different mirrors within your selected country. Let's just select the default 'deb.debian.org' as suggested:
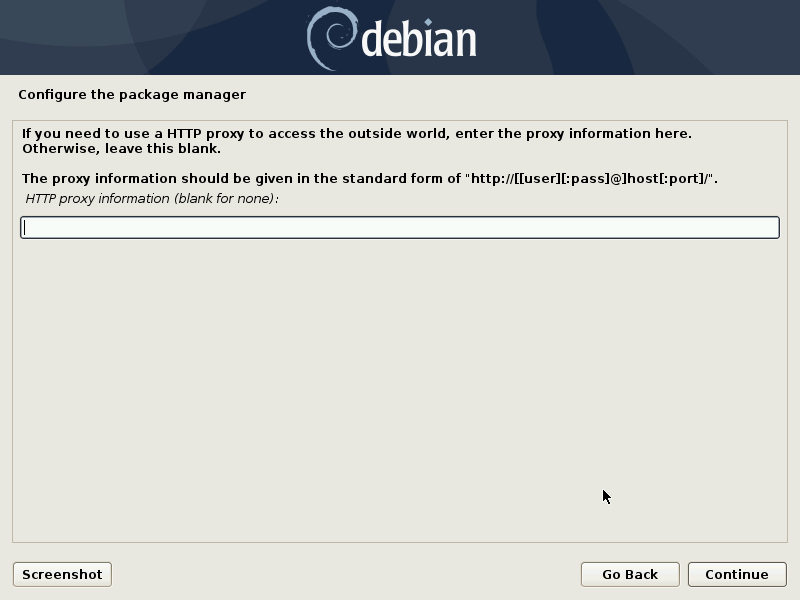
We're not using a proxy to connect to the Internet, so leave the next screen blank:
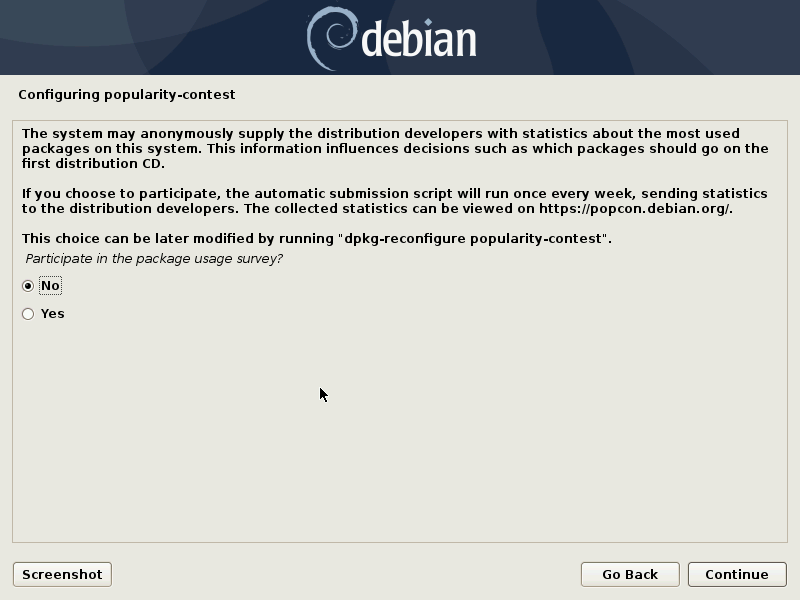
Next we'll choose whether we want to participate in Debian's package feedback program. Up to you!
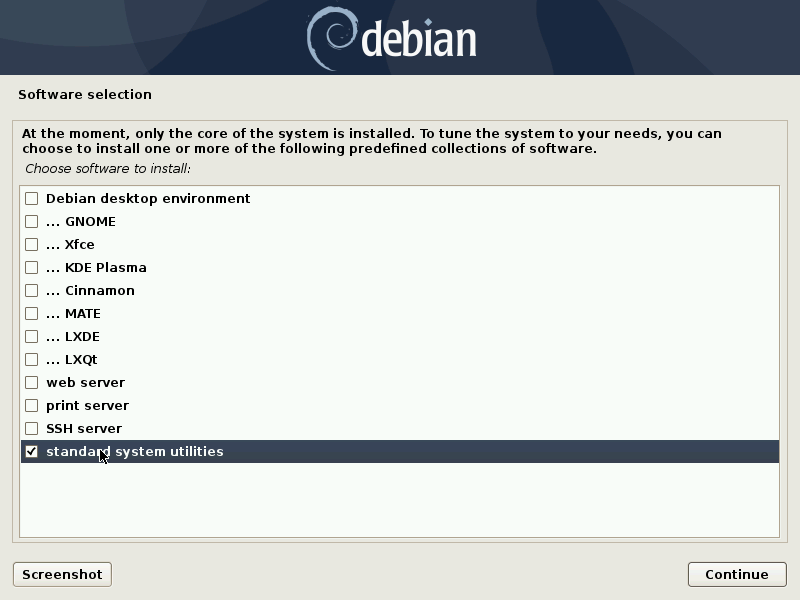
Now we'll choose what software we want installed by default. Given the overall goal of this series of tutorials, what we really DON'T want is a desktop environment (DE) of any kind. However if you want to have an easy-to-use, out-of-the-box computing environment complete with most (if not all) the trimmings - select one! I (quite happily) used Cinnamon for a long time which always reminded me of early Windows (95->XP)... if you're into that kind of thing. Remember however, there's no free lunch, and that out-of-the-box functionality comes at the cost of performance! Here's what I've selected:
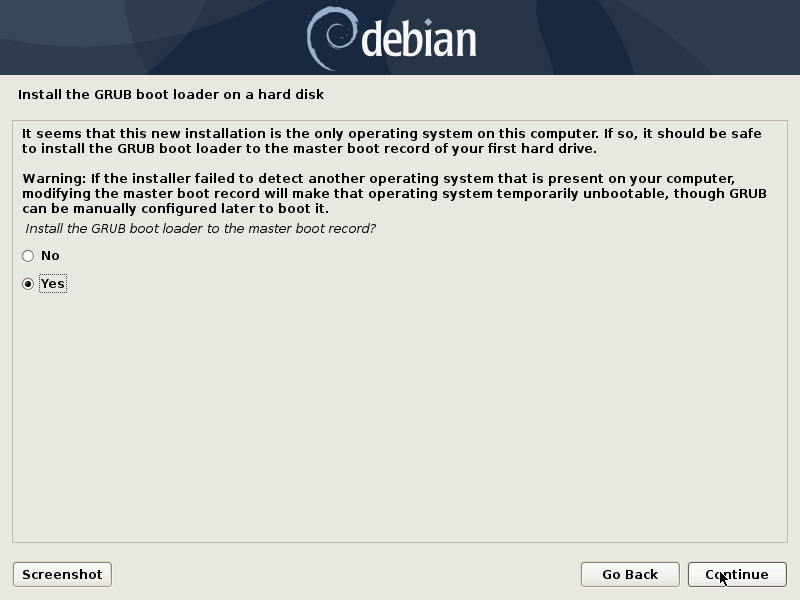
Next we're presented with a screen asking if we want to install GRUB to the master boot record (MBR). GRUB which in classically annoying fashion stands for GNU GRand Unified Bootloader, is software which provides a gui for choosing what OS to load early during your machine's boot process. An MBR is a section of your hard drive which contains information on where and how operating systems it, or other installed drives contain. We want this:
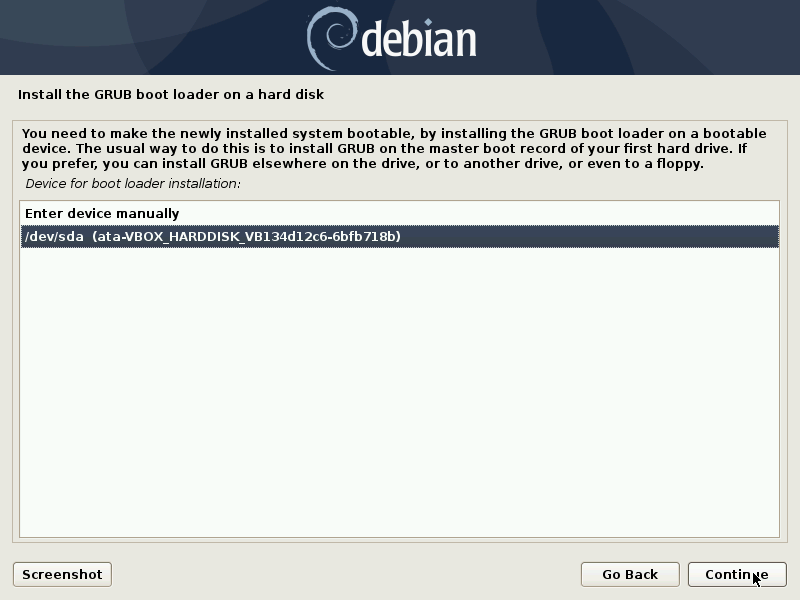
For our humble purposes, select the same drive you chose earlier in the installation:
Barring any unfortunate oddities, we should now be presented with the the following:
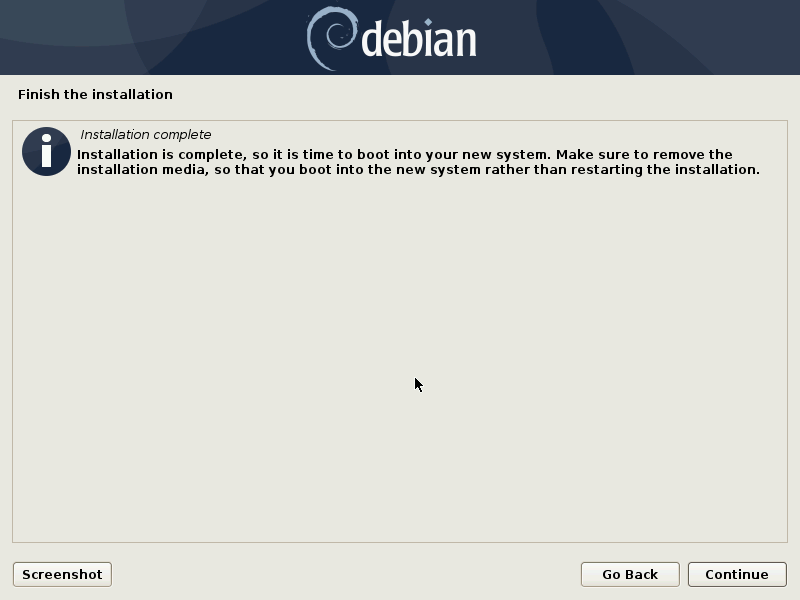
Remove your installation media, click 'Continue' and after restart you'll be presented with our GRUB menu:
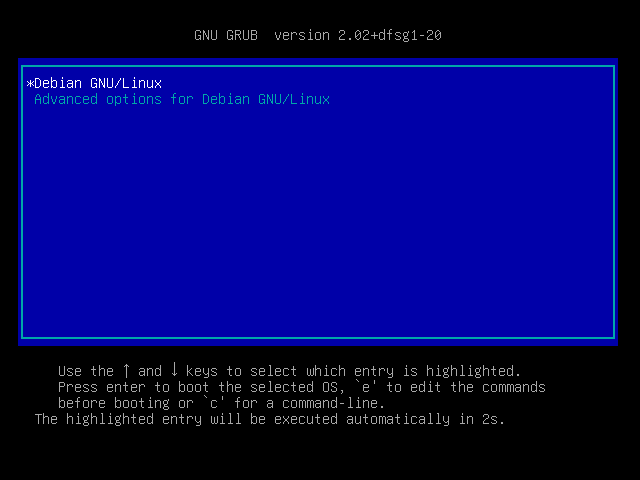
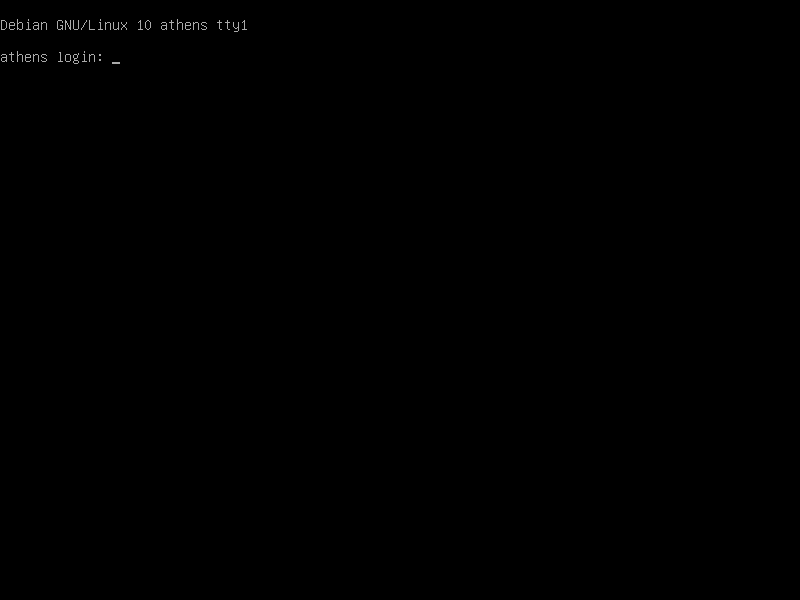
By either letting the timeout expire, or by selecting the 'Debian/GNU Linux' option from the list and hitting enter, we'll boot our freshly install Debian 10!
That wraps up this first section of our tutorial! In the next section, we'll cover some basics, and then install some software!